Tinted headlights (shading and / or color change) is one of the most popular, simple, inexpensive types of car tuning. Tinted headlights can greatly change the exterior (appearance) of the car, giving it originality, style, individuality ...
But, naturally, the “legal desire” to stand out in a stream of cars requires some investment of money and labor (if you decide to tint the headlights yourself, without resorting to the service of a car service or a tuning studio). By the way, about the legality of desire: the traffic police inspector and you may have diametrically opposed views on this aspect. Therefore, it is necessary to arm yourself with some knowledge, at least in the amount of traffic rules (Rules of the Road).
Content
- 1 Shade Lighthouse: Legitimate Tuning
- 2 How to tint lights: film or paint
- 3 Tinted headlights: tools, order of execution
- 3.1. Preparation of the headlamp for tinting
- 3.2 Tinting process
Shade Lighthouse: Legitimate Tuning
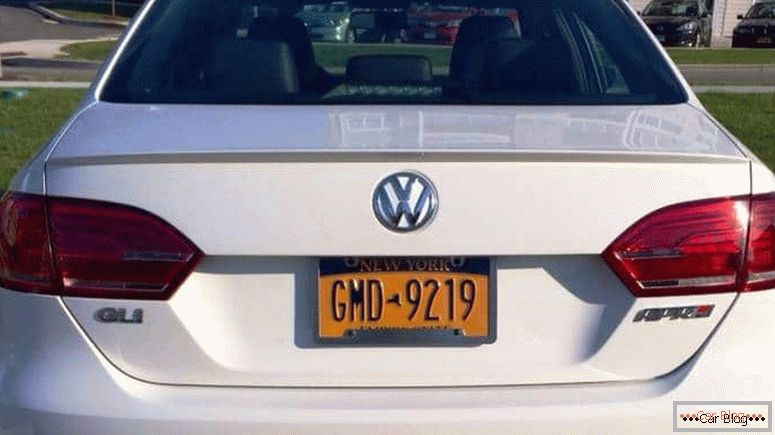
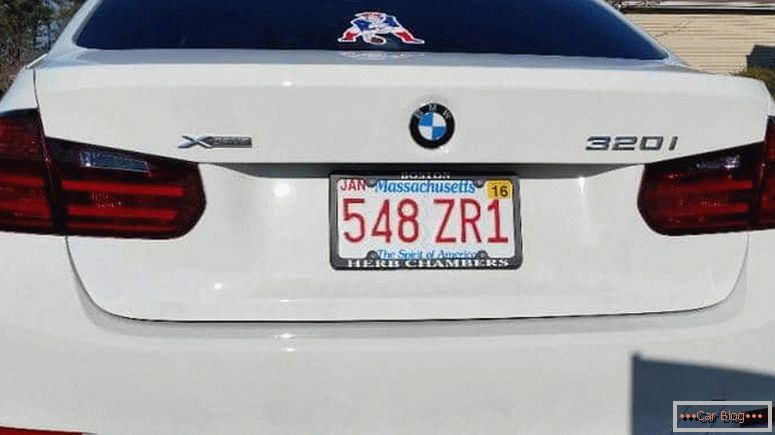
Here is the tinted rear light (left)
Traffic rules - this is the main regulatory document on the road. They need to be guided and use as an argument in communicating with the inspector, because to appeal to "common sense" is usually useless. Section 3 of the rules contains a list of conditions prohibiting the operation of vehicles. In our case, of interest is item number 3.6, which regulates the use of light devices. It states that it is prohibited to install devices and devices, the color of the glow (reflection) of which differs from the following:
- Front, for 1.1. Light devices - white, yellow, orange. 1.2. Retroreflective devices (reflectors) - white.
- Behind, for 2.1. Reversing lights - white.2.2. Highlights of the state license plate - white.2.3. Other light fixtures - orange, red, yellow.2.4. Retroreflective devices - red.
As usual, the driver will consider that “everything that is not prohibited is allowed”, and the guy, on the contrary: what is not allowed, then is prohibited. But the above extract is all that is said in the SDA on this issue: neither subtract nor subtract. It is all the same to you to solve the “Hamlet dilemma”: to tint the headlights or not to tint.
How to tint lights: film or paint
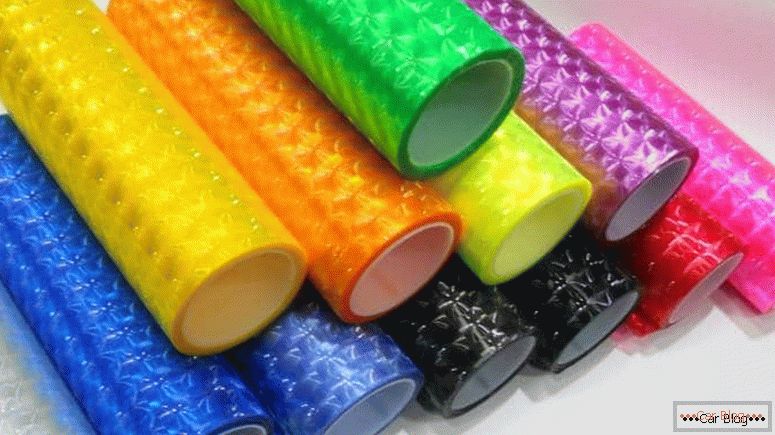
Film for tinting headlights presented a variety of colors
Looking ahead: if the film was used for tinting headlights, then in a dead-end situation it was only a matter of seconds to rastone the lights.
Both methods of applying tinting have their adherents and, accordingly, opponents. The use of the film seems to be still preferable for several reasons:
- The film is cheaper than special varnish or paint.
- The decrease in the brightness of the light device in the case of using the film is not more than 15%.
- A wide selection of quality materials of various colors, shades.
- The film is a good protection of the headlamp against impacts of small gravel, branches of bushes and trees. Even if the headlight from a strong blow and breaks, the glass will not spill, and the lamp will remain intact. With such optics, you can still ride while your hands reach repair.
- It is extremely resistant to ultraviolet radiation, high humidity.
Well, if you do the tinting of the headlights with a film with your own hands, then the main, “impenetrable” argument comes into force: this method is quite capable of any car enthusiast. Unlike the paint, which without skills and experience is almost impossible to apply even a thin layer, and even without smudges. The film in case of failure can be removed, and then glued a new one. Paint removal is a problem because Solvents can not be used - you can permanently ruin the glass.
Tinted headlights: tools, order of execution
For work, you need a small set of common materials and tools, most of which can be borrowed from a spouse and child:
- building hair dryer, but you can use the household;
- glass cleaner;
- rubber roller (or trowel);
- rags (softer);
- marker;
- a sharp knife (suitable stationery);
- household spray, for example, hand sprayer for indoor plants.
Preparing headlights for tinting
For careful sticking of the film, the headlights are preferably removed, but not necessary: the work can be done locally. But when the tinting of the rear lights is performed, then dismantling is indispensable. If the glasses have stamped convex inscriptions, they must be removed with a sanding machine or sandpaper. Then polish well to get a mirror surface.
After that, the headlights must be thoroughly washed with warm water using a glass cleaner. Washed headlights can be dried with a hairdryer or wiped with a soft, lint-free cloth. Now degreasing with alcohol is performed (it is absolutely impossible to use solvents) and drying again. You can proceed directly to the toning.
Tinting process
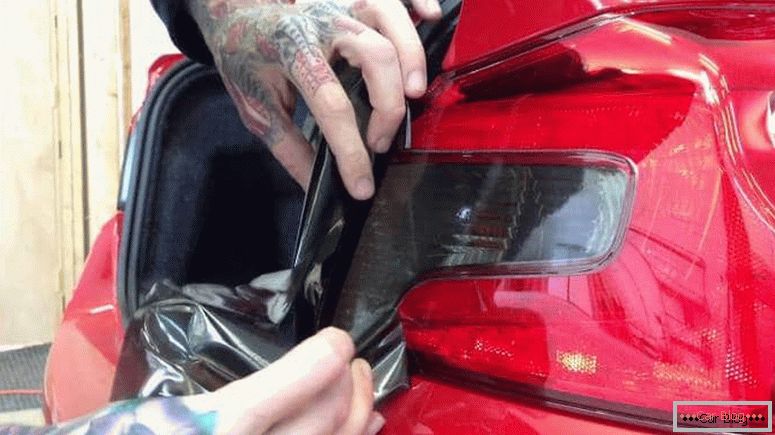
When tinting headlights, it is important to carefully smooth the film and squeeze out all the air and moisture bubbles.
All instructions for labeling dubbing film fit into 5 steps:
- The layout of the workpiece. The sheet is applied to the headlamp (or vice versa - if the headlight is removed) and a contour is drawn around the marker, which should be 2–5 cm indent from the geometric border of the headlight. Indent is needed so that the edges can be wrapped around the headlamp and glued. The indent width depends on the thickness of the optical device. It is desirable that the edges of the film hid in the car body.
- Cutting the workpiece. The film is laid on a flat, smooth surface and cut with a knife. You can use good scissors that do not “chew” the edges.
- Moisturizing headlights. It is made by means of a spray. Without letting the surface dry, we begin to glue the resulting workpiece. There are tips to use a solution of soap or shampoo. "Vent" this question with the seller when buying a film. It would not have been a beautiful, but completely unnecessary rainbow.
- Gluing the film. The blank is applied to the headlamp in the center or along its long edge, depending on which part of the glass has a more even plane. Gradually separating the substrate, we begin to glue. In this case, the film must be warmed up with a hairdryer to give elasticity and smoothed with a soft cloth. Obviously, it is easier and easier to do this together. It is important to squeeze out air and moisture from under the film - there should be no bubbles! When everything is glued, you need to roll the entire surface with a roller or trowel to get the best grip on the glass. If there are folds, then this place can be heated and smoothed again. The edges of the film should be bent on the side surface of the headlamp, glued and cut off the excess.
- Drying lights. It is better to let it pass naturally for 2-4 hours. In case of overheating with a powerful hairdryer, stretching may occur, which in winter will turn into cracks or tears. Full drying can take up to two days depending on the adhesive used by the manufacturer.
Tinting lights film can be partial, for example, alternating stripes
Not solid toning is also possible, but in parts, i.e. sticking film with strips, small circles, etc.
If you have not guessed with the transparency of the film and the luminosity of the headlamp or flashlight has decreased significantly, then you can try to install a brighter lamp.


